How to make a tornado in a bottle
by Ailsa Harvey · 27/01/2021
Six simple steps to making your own meteorological marvel
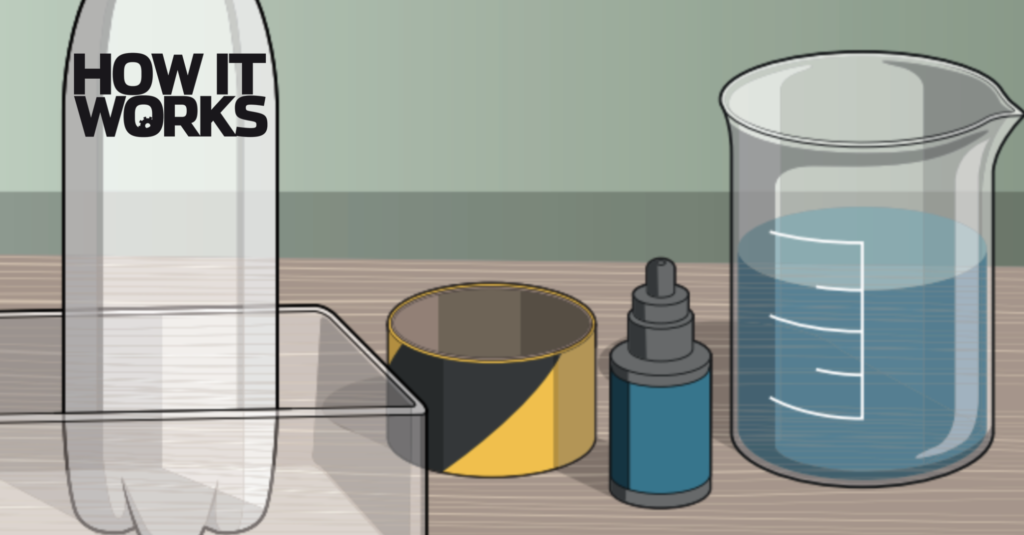
1. Gather your equipment
For this experiment you will need two plastic bottles, one sports bottle cap with an open mouth piece, sticky tape, food colouring and water. If you don’t have a sports bottle cap you can use a regular bottle cap, but make sure to create a small hole in it for water to get through.
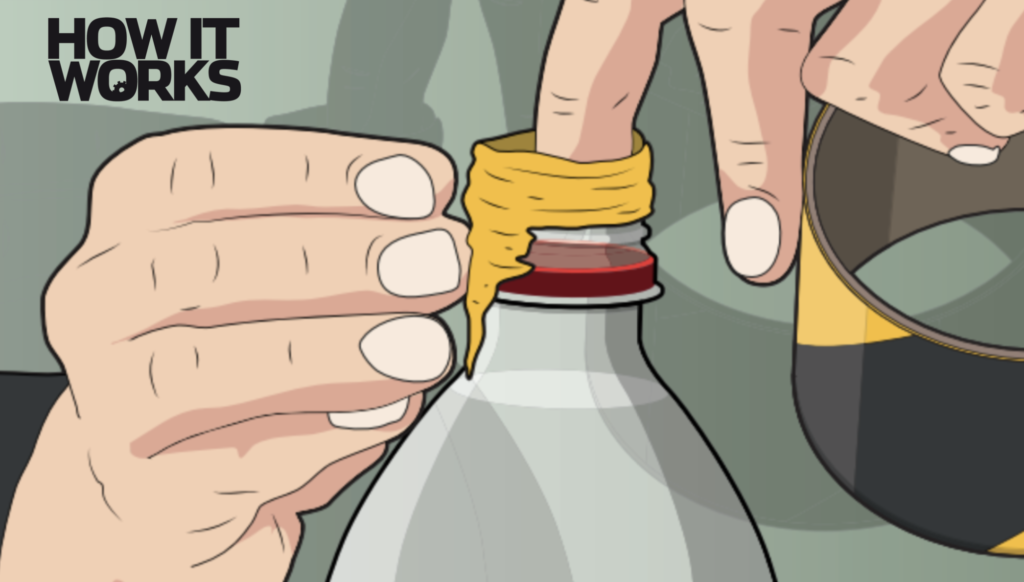
2. Attach bottle cap
Place the bottle cap upside down onto one of the bottles. Hold this in place as you attach it with sticky tape. This needs to be a watertight seal around the edge to avoid spillages.
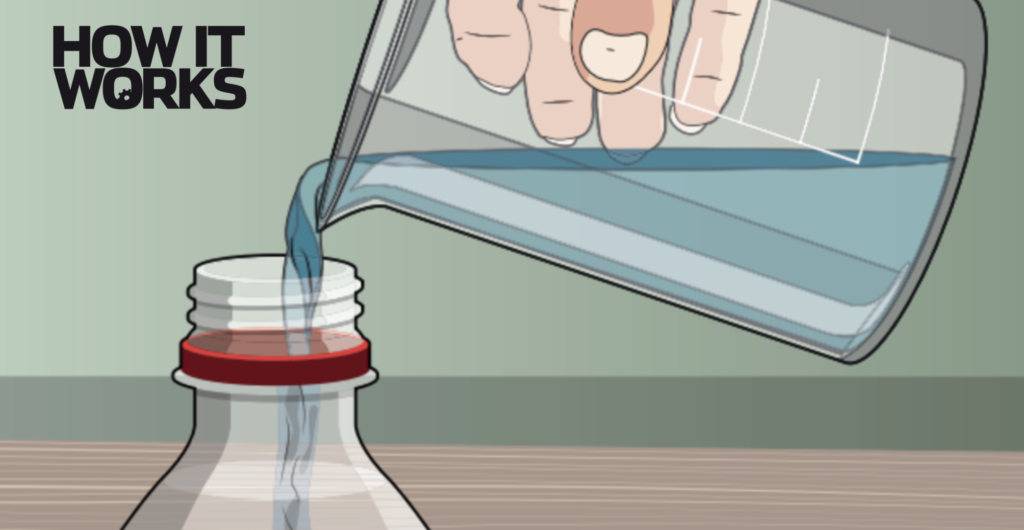
3. Add your colour
Before filling the other bottle, add your chosen food colouring to give your tornado the look you want. Then fill the second bottle to the top with water, which will mix with the food colouring.
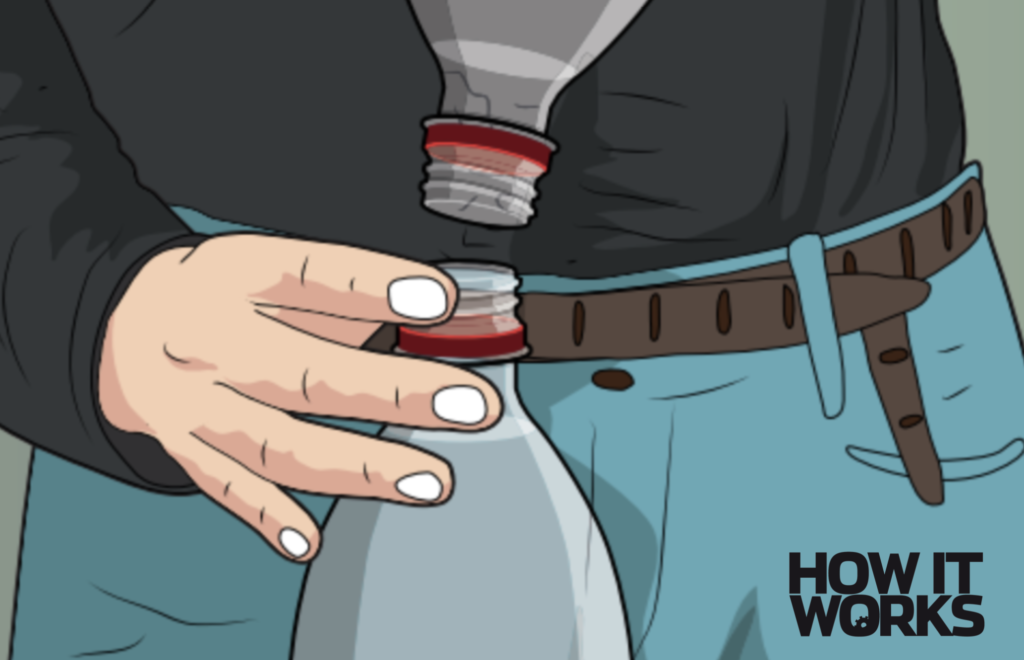
4. Connect the two bottles together
Screw the empty bottle on top of the water-filled one, making sure they are attached securely.
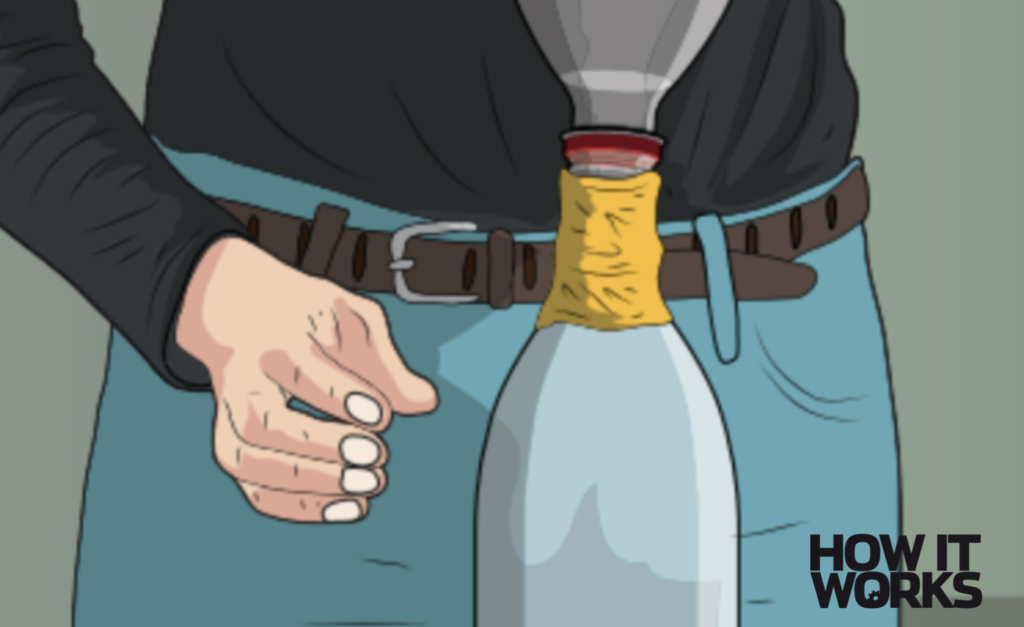
5. Flip the bottles
Turn your bottle tower upside down so that the water is on top. With the bottom bottle full of air, the water is trapped in the top.
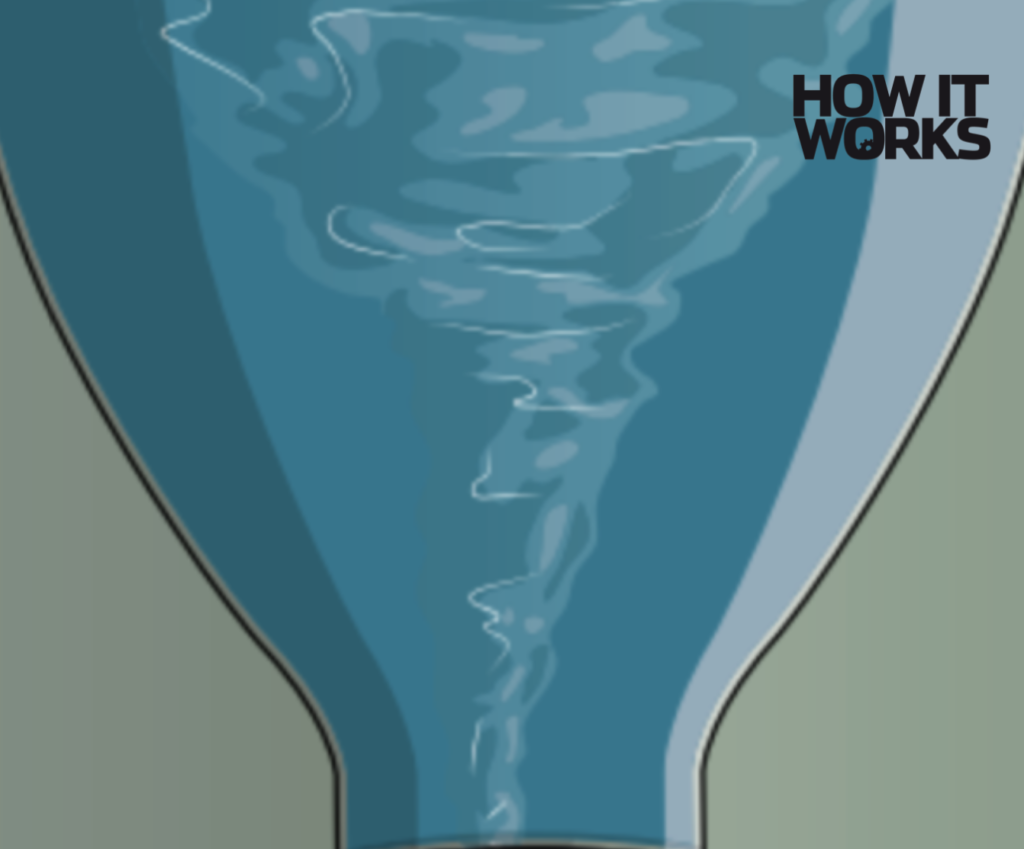
6. Create the tornado
Shake the two bottles in a circular motion. This makes the water in the top bottle spin out of the way, creating a path for the air to flow upwards and forming a tiny tornado.
Summary
The shape of the flowing air is formed by the spinning movement and the narrow gap between the bottles. The food colouring creates a cool look, as well as making the tornado more visible. You can also add other items such as glitter to personalise your tornado.
For more science and technology articles, pick up the latest copy of How It Works from all good retailers or from our website now. If you have a tablet or smartphone, you can also download the digital version onto your iOS or Android device. To make sure you never miss an issue of How It Works magazine, subscribe today!


