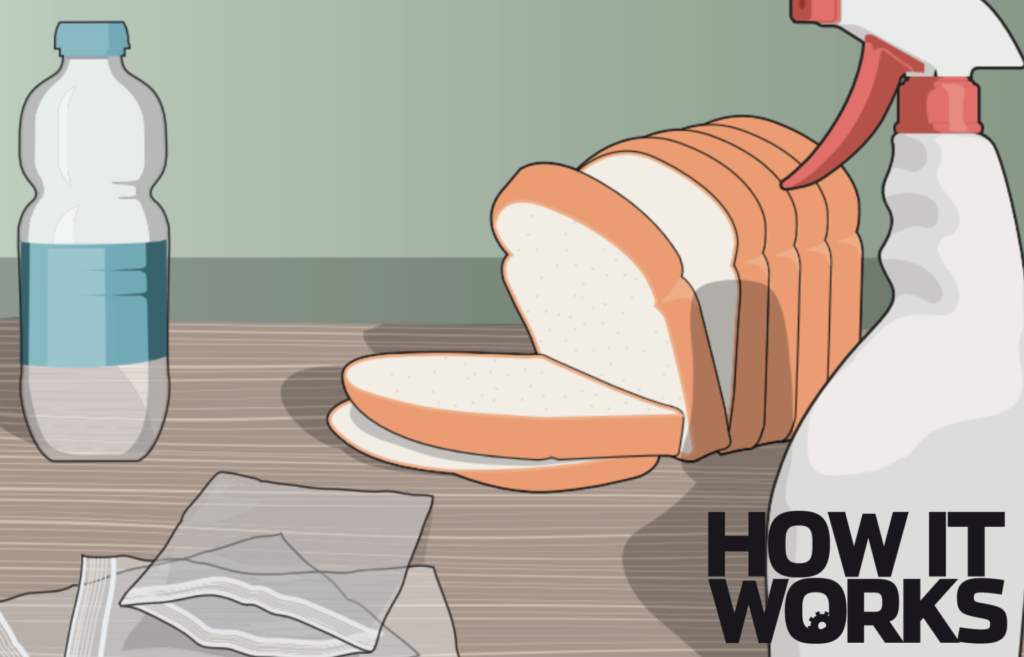
You will need the following items: bread slices, water, sealable plastic bags, a spray bottle, and dirty hands. The number of slices of bread you will need depends on how many objects you wish to test. For this example you will need three. A fresh loaf will work quicker as sliced bread from a shop often contains preservatives.
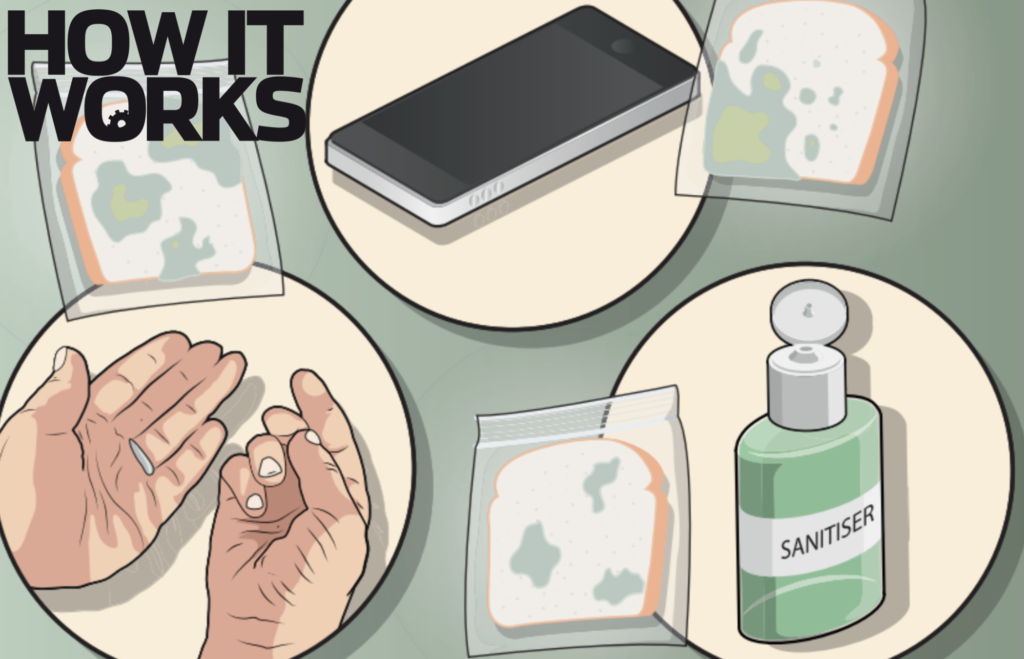
Wipe your hands on one slice. Make sure you touch the bread with the inside of your fingers, as this is where dirt can hide. Wipe another slice on your phone or laptop. For the third, use someone’s hands who has just used hand sanitiser, to see how it compares. These can be swapped with any item you want to test, but remember what you wiped with each slice.
Once you have wiped the bread slices, spray them with a light coating of water. This will help the mould grow quicker as it thrives in damp environments. Spray each slice once or twice, but keep the number of sprays consistent across all slices. If you don’t have a spray bottle, you can sprinkle a light covering with your hands, keeping it as even as possible.
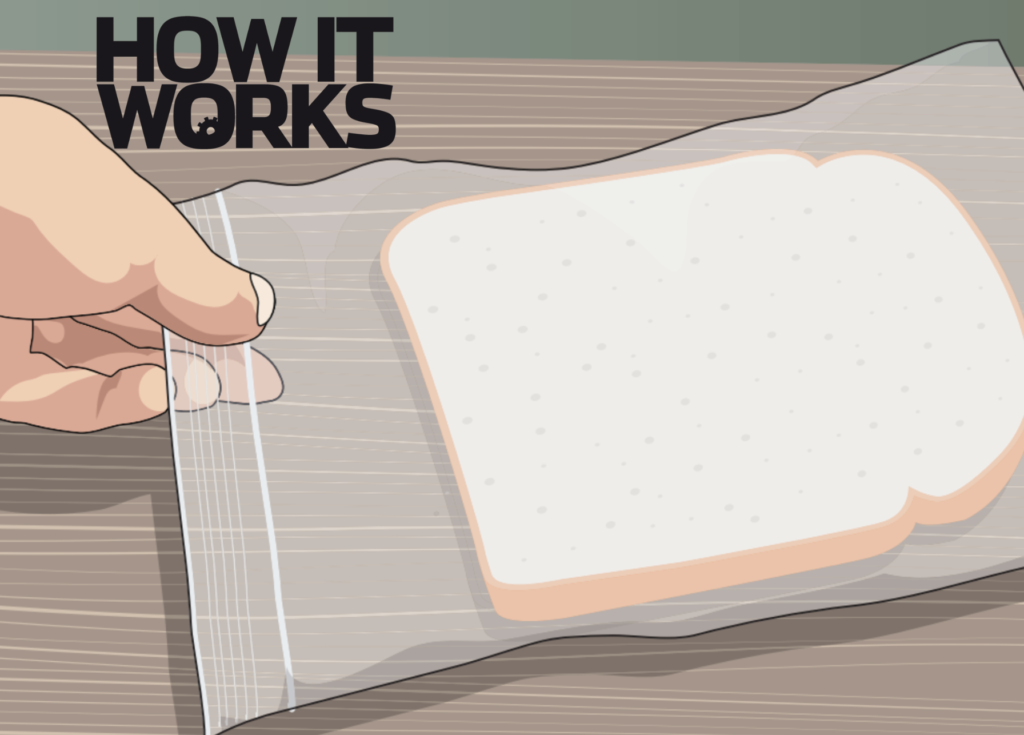
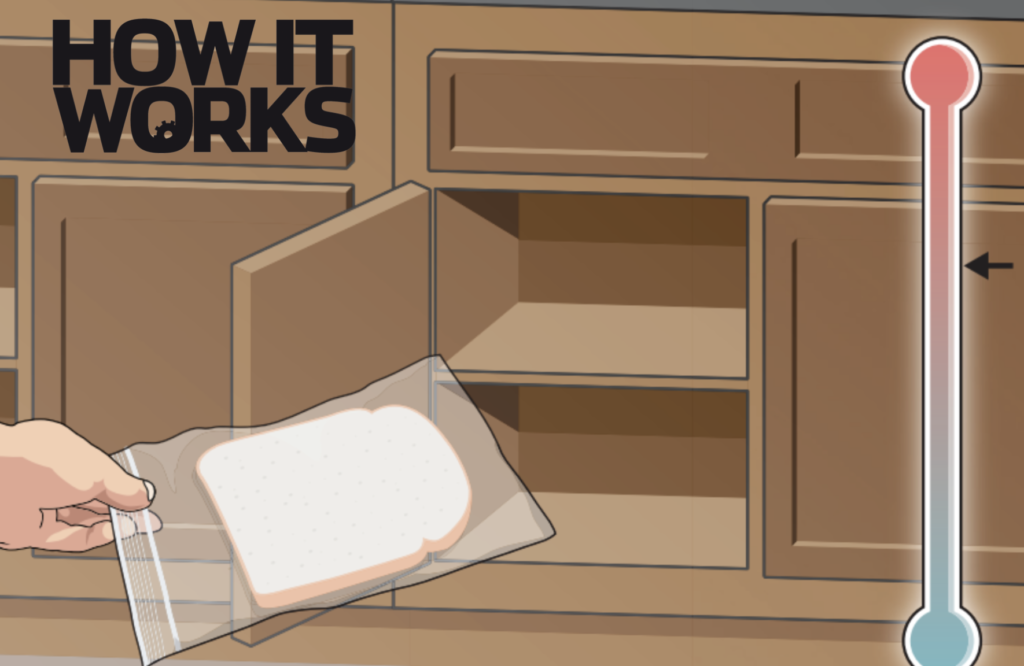
Place each slice into a separate plastic bag or container and make sure to seal them tight. This will keep the mould growing inside and will keep you safe from exposure.
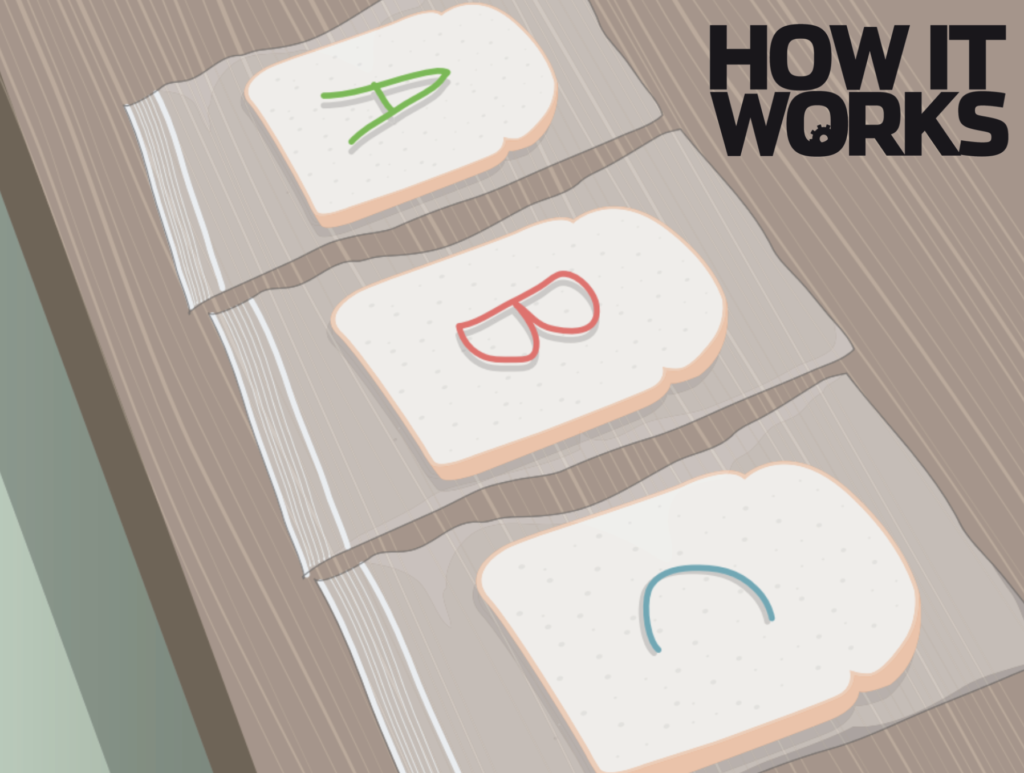
Label each bag with the item it was wiped on. This is so you know which slice was wiped on which object when you observe the results later. You can also write down your predictions at this point to look back on afterwards.
For the best mould growth, store the bags of bread somewhere warm. Along with the moisture in the bag, this will provide the perfect warm, damp growing conditions. The mould doesn’t need sunlight, as all the food it needs can be sourced from the bread.
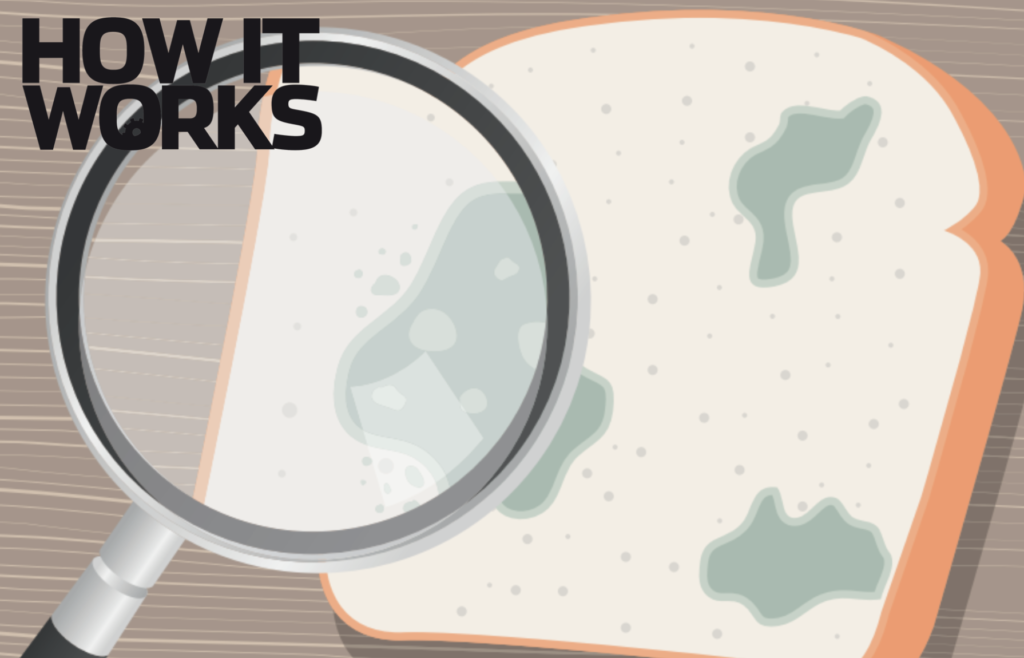
Check the progress of the growth daily and see when it starts to appear on each slice. Significant growth should be seen after just seven days. Were your hands as clean as you thought? When you have finished with the experiment, safely dispose of the bread without opening the bags.
Summary
The mould that grows on the bread is a visual representation of the dirt you cannot see lingering on your hands, between the keys of your keyboard or on any object you wiped the bread on. By touching the bread, this shows how easily bacteria, viruses and mould spores can be transferred onto other objects. Watch how the mould growth compares to the bread touched by hands cleaned with soap and water or sanitiser to discover the importance of washing your hands.
Disclaimer: Neither Future Publishing nor its employees can accept any liability for any adverse effects experienced during the course of carrying out these projects or at any time after. Always take care when handling potentially hazardous equipment or when working with electronics and follow the manufacturer’s instructions.
For more science and technology articles, pick up the latest copy of How It Works from all good retailers or from our websitenow. If you have a tablet or smartphone, you can also download the digital version onto your iOSor Androiddevice. To make sure you never miss an issue of How It Works magazine, subscribe today!