Gruesome Victorian Surgery
Being a surgeon or patient in the late 1800s was not for the faint-hearted
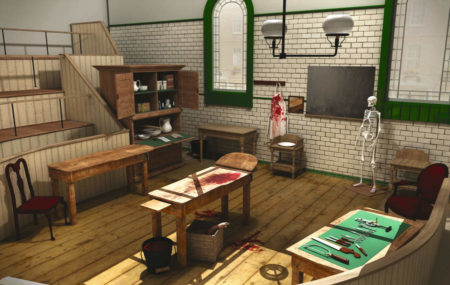
The Victorian era has been romanticised surgeon would often perform the procedure in a packed operating theatre, full of students and peers. Rusty saws and knives were the norm, as was the blood-encrusted apron that made the surgeon look more like a butcher than a man of medicine. He would slice through fl sh and bone in 30 seconds flat. The faster the better, to prevent the patient from fleeing mid-way through, or worse, dying from shock. Anaesthesia and painkillers weren’t in use until the latter half of the 19th century, and even when they were very rudimentary. Alcohol was always an option, to get the patient drunk enough to numb the pain. Chloroform and ether were also used as early anaesthetics, but both were dangerously potent, and ether was also highly flammable – rather hazardous for use in theatres that were lit by naked flames. One of the major advances in surgery was in 1867, when Joseph Lister pioneered aseptic techniques and began to sterilise wounds, operating theatres and instruments using carbolic acid. He even experimented with hand washing, which had previously only been performed after an operation! This lowered infection, and Lister eventually became known as the ‘father of antiseptic surgery’.
What was the process of Victorian amputation?
1 Prep the patient
Patients were laid on an operating table, and warned to keep very still, often without any anaesthetic or painkillers. The slightest movement could botch the operation and result in death.
2 Tighten the tourniquet
To stem the flow of blood, tourniquets were placed above the incision. These were made of canvas straps that were tightened using a screw attached to brass plates on either side.
3 Make the first incision
Surgeons would use large knives, often with curved blades. The first incision would slice through the flesh and muscles that were around the bone in a circular motion.
4Make the second incision
This process was then repeated on the other side of the limb. It was called the ‘tour de maitre’, or ‘turn of the master’, and it had to be performed very quickly for the patient’s sake.
5 Saw the bone
Using the amputation saw, the surgeon would cut completely through the bone. The detached limb would then be dropped into a bucket of sawdust in order to absorb the blood.
6 Stitch it up
Once the limb was free, the surgeon would stitch up the main artery and smaller blood vessels. When the blood eventually stopped fl owing, he would begin to stitch up the wound.
7 Bandage it up
The stump would be dressed in bandages. This had to be done carefully, because bandages that were either too loose or too tight could cause issues with the healing process.
8 Apply final touches
Once the procedure was finished, the patient would be taken away for recovery. Some 25 per cent of amputees would not survive, as poor sanitation often led to deadly infections.
This article was originally published in How It Works issue 87, written by Ella Carter
For more science and technology articles, pick up the latest copy of How It Works from all good retailers or from our website now. If you have a tablet or smartphone, you can also download the digital version onto your iOS or Android device. To make sure you never miss an issue of How It Works magazine, subscribe today!